Dear Friend,
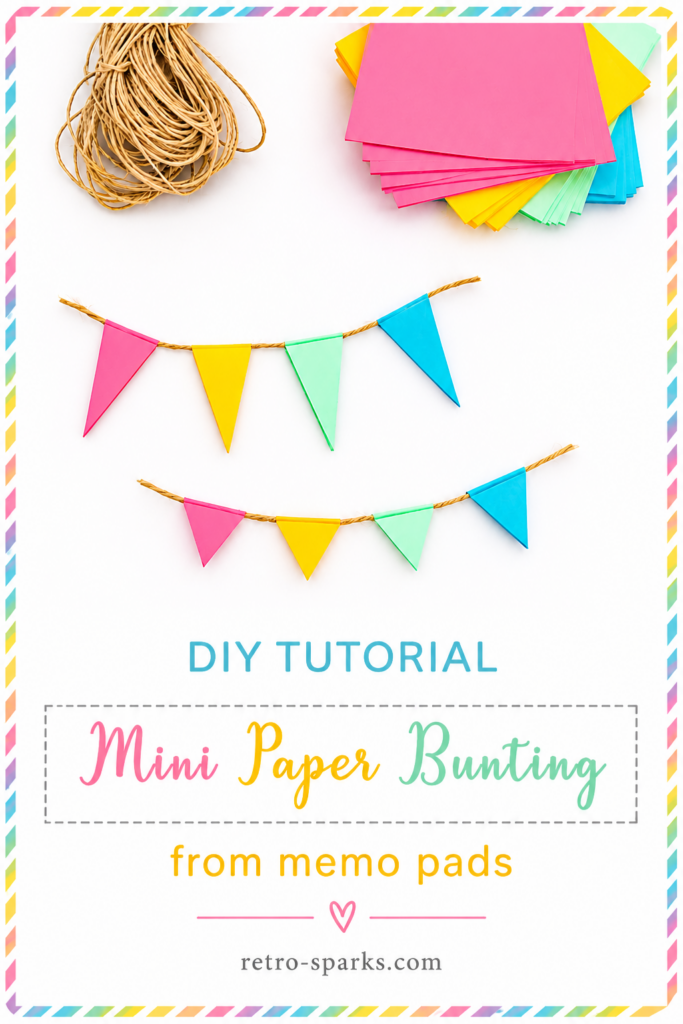
This week, I’m sharing a super quick and easy DIY: mini paper bunting made from memo pads. It’s a lovely way to use up those little sheets of colourful paper, and the finished bunting is just too cute.
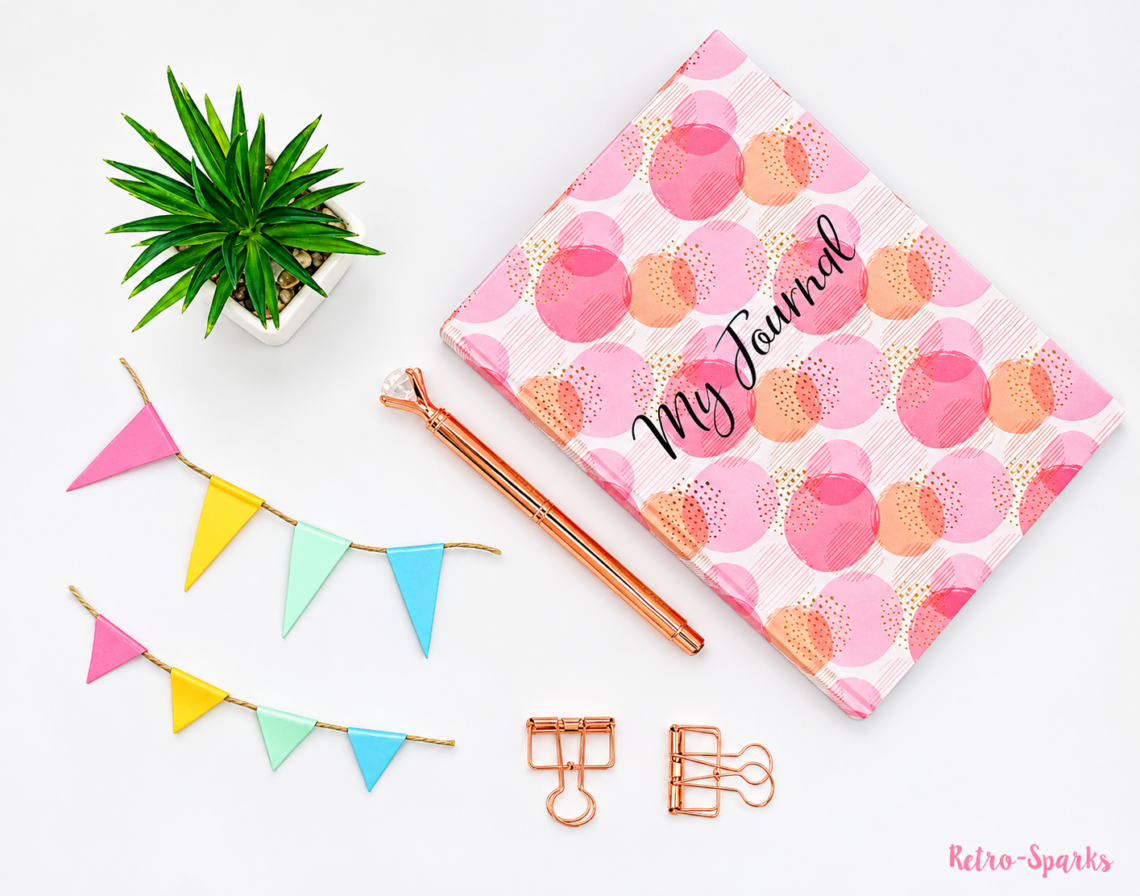
You can use these tiny paper flags to decorate a scrapbook, journal, handmade card, party table or even a cake topper.
It’s a simple project that takes only a few materials and a little bit of patience.
Kids can join in too, with an adult helping with the cutting if needed.
Follow the four simple steps below and make your own mini paper bunting!
What You’ll Need
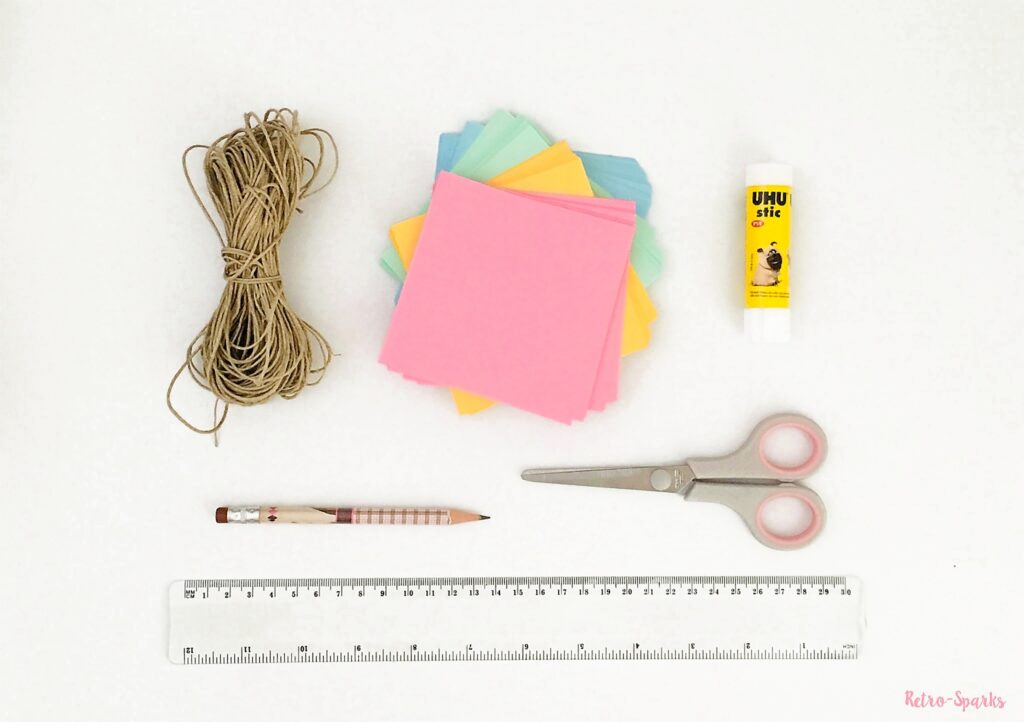
- Memo pads in fav colours
- Thin ribbon, twine or string
- Ruler
- Scissors
- Glue stick
Colour tip: Choose memo pads that look lovely together. I used pastel pink, yellow, mint and blue, arranging them like a tiny rainbow.
How to Make Mini Paper Bunting
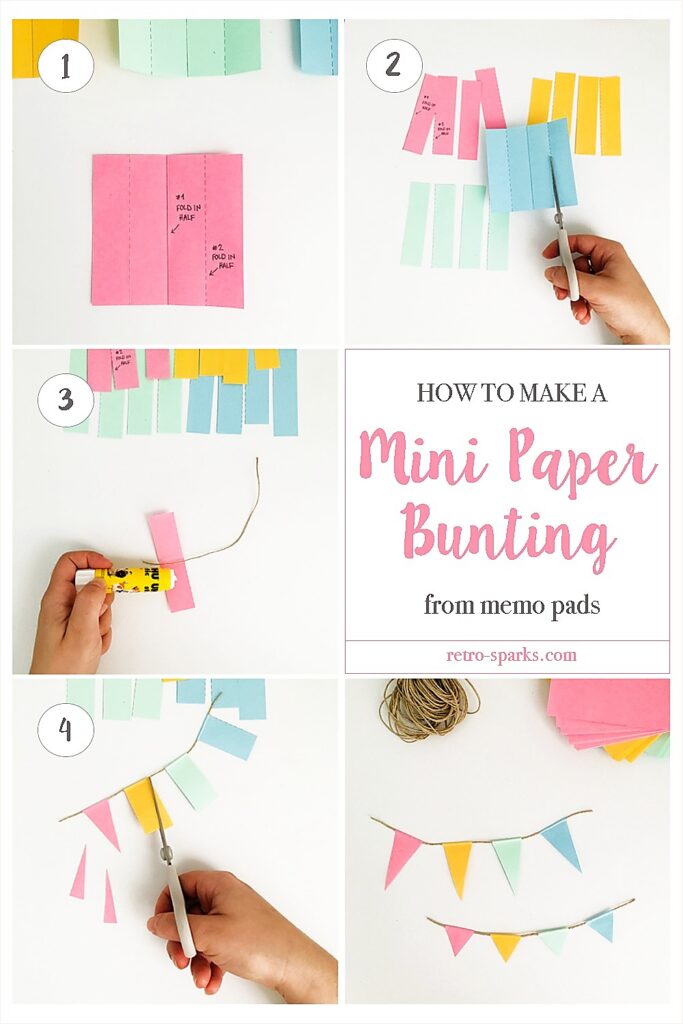
Step 1 — Fold the paper
Choose as many memo pads as you like — I used four different colours. Fold each memo pad in half, then fold the two halves in half again, as shown in the step-by-step photos. Repeat with every colour.
Step 2 — Cut the pieces
Cut along the folds to create four equal strips from each memo pad. You’ll have a little pile of colourful paper pieces ready to turn into flags.
Step 3 — Attach the paper to the string
Cut a length of ribbon or twine. Mine was about 17 cm (6.7 inches). Take one paper strip and fold it in half. Add glue to the inside, place the string along the fold, and press the two sides together so the paper holds the string in the middle.
Step 4 — Trim the flags
Find the centre of the lower edge of each folded paper piece. Using scissors, cut diagonally from each bottom corner towards the centre to create a little triangular flag. Repeat for all the pieces.
And that’s it — your mini paper bunting is ready! Simple, quick and lovely, isn’t it?
Want to Make Even Smaller Bunting?
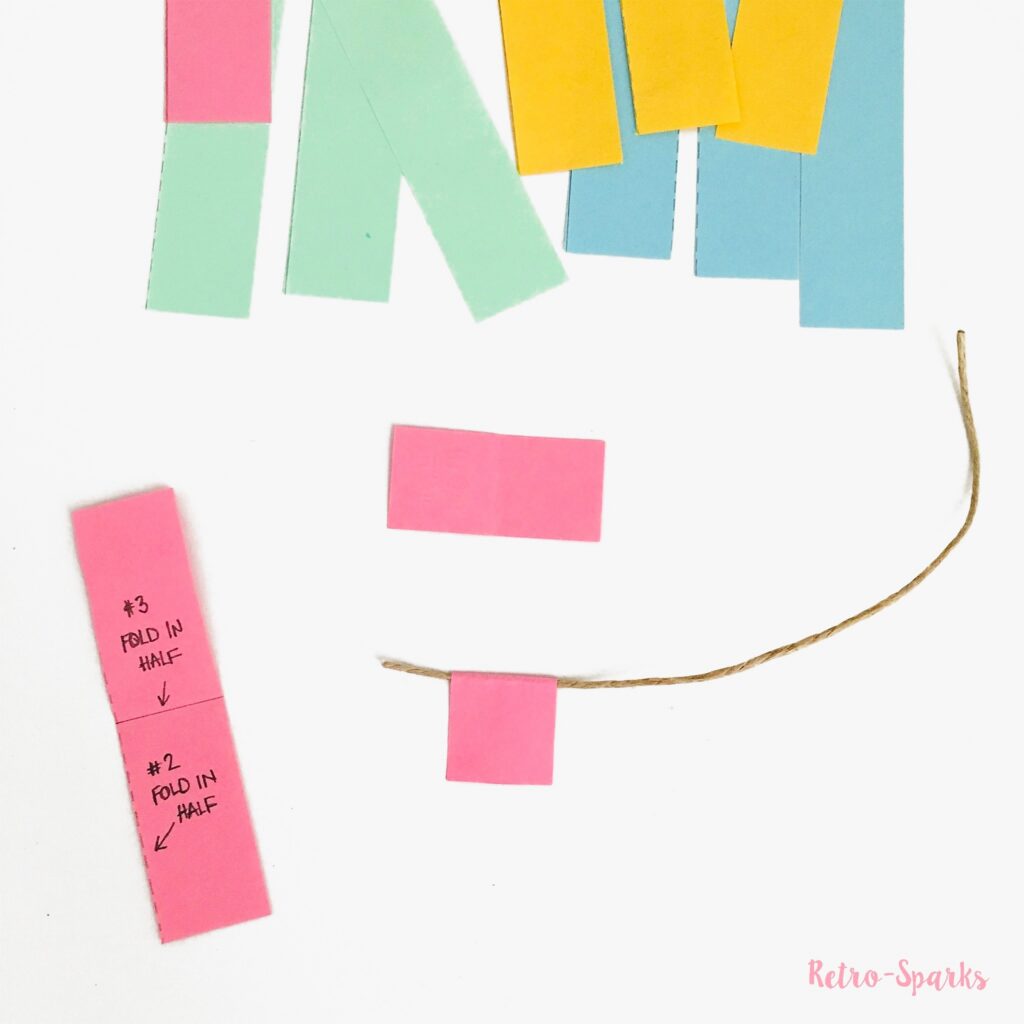
Here’s another little trick!
After Step 2, fold each cut paper strip in half once more. Then follow Steps 3 and 4 in exactly the same way: glue the folded paper around the string and trim the bottom into a triangle.
You’ll end up with an even tinier version, perfect for decorating journal pages, mini craft projects and little handmade details.
I hope you enjoyed this mini paper bunting tutorial.
If you give it a try, I’d love to see the colours you choose!
Happy crafting,

Be awesome, stay safe, and don’t forget to pin this tutorial if you’d like to save it for later!